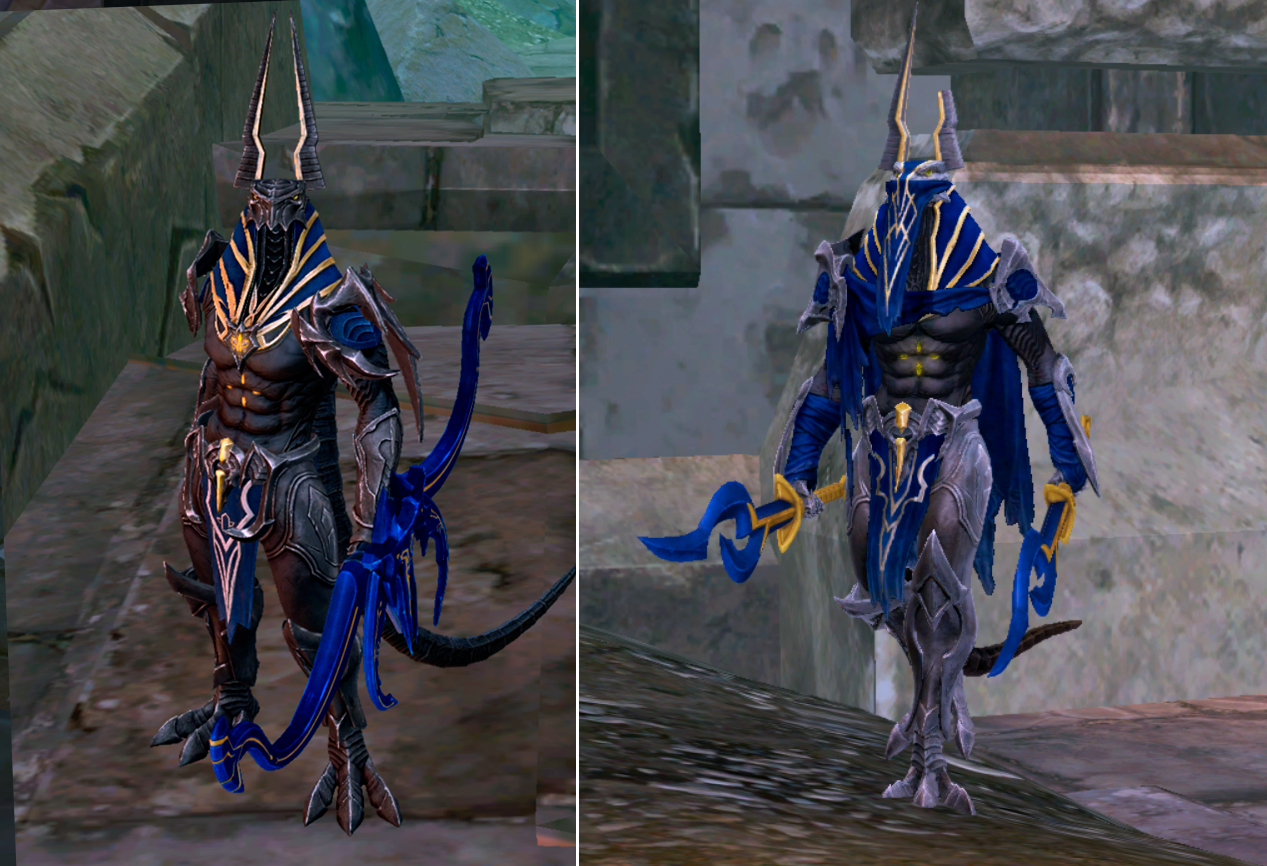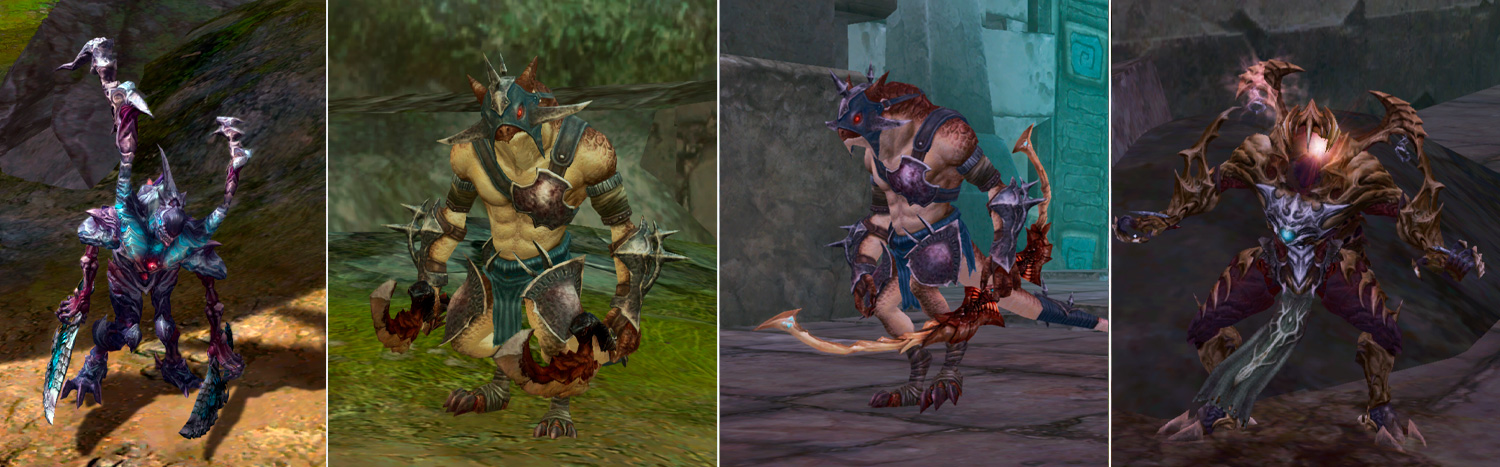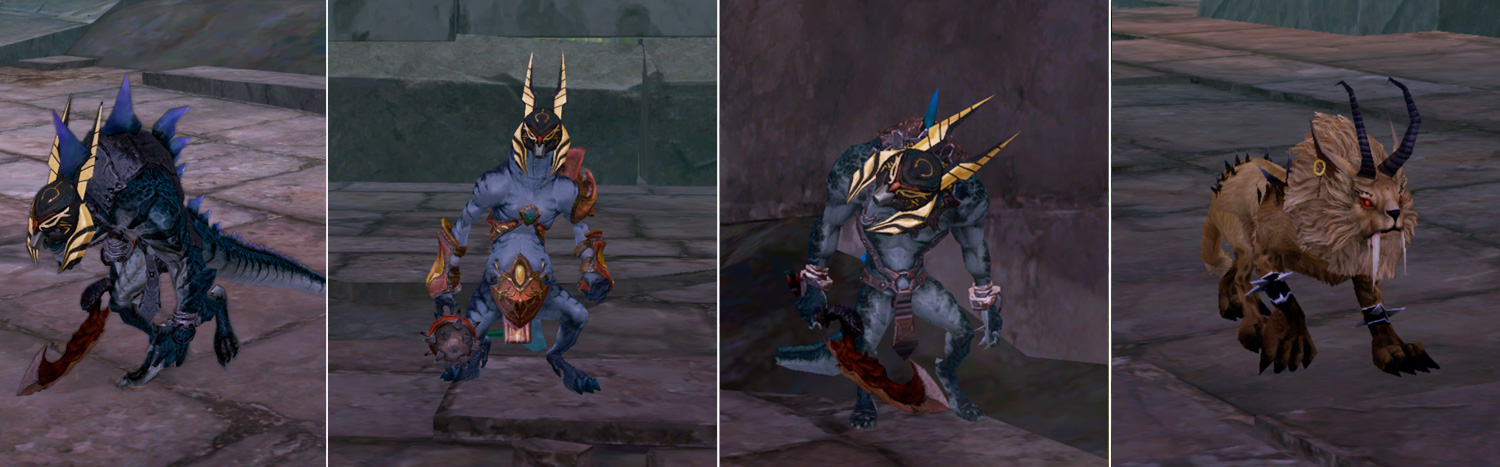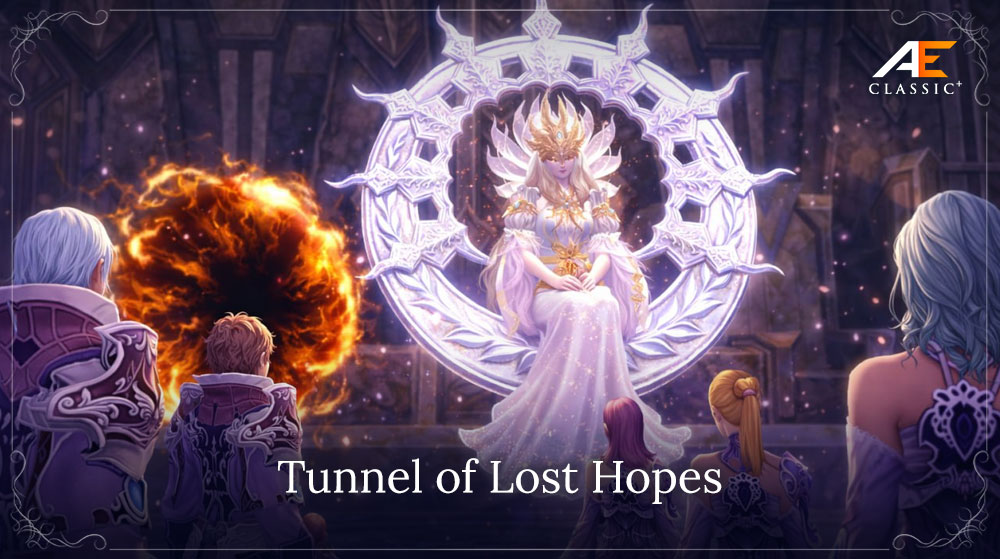
The Tunnel of Unfulfilled Hopes is an arena of eternal hostility, where Elyos and Asmodians enter from opposite sides, driven by their thirst for glory and loot. The Elyos spawn point lies on one side, while the Asmodian spawn point is located on the other. Both races enter the tunnel ready for battle.
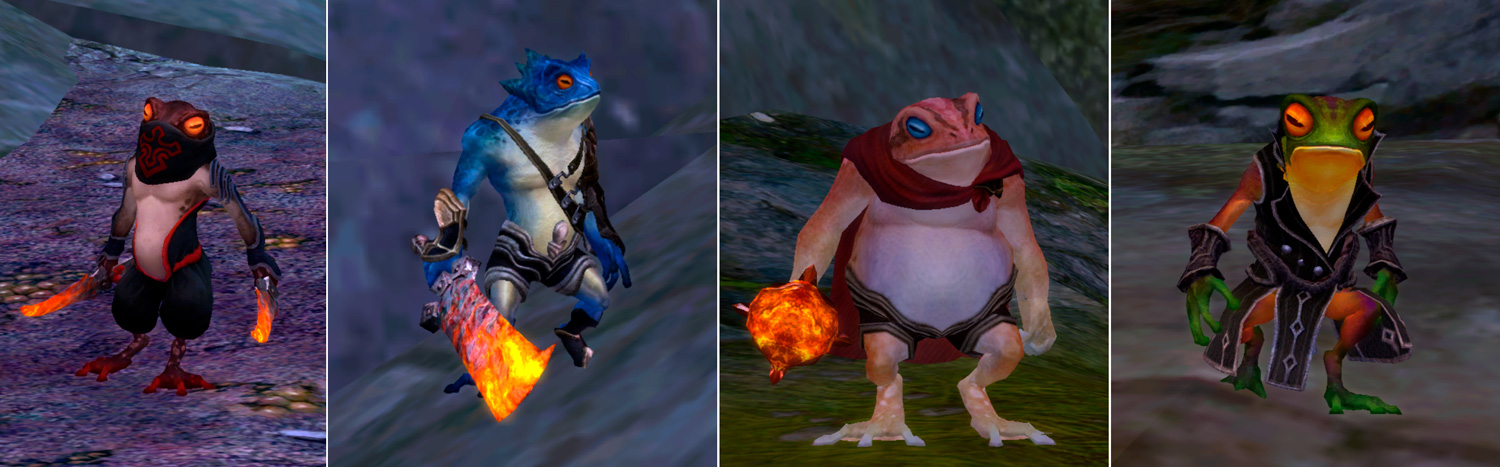
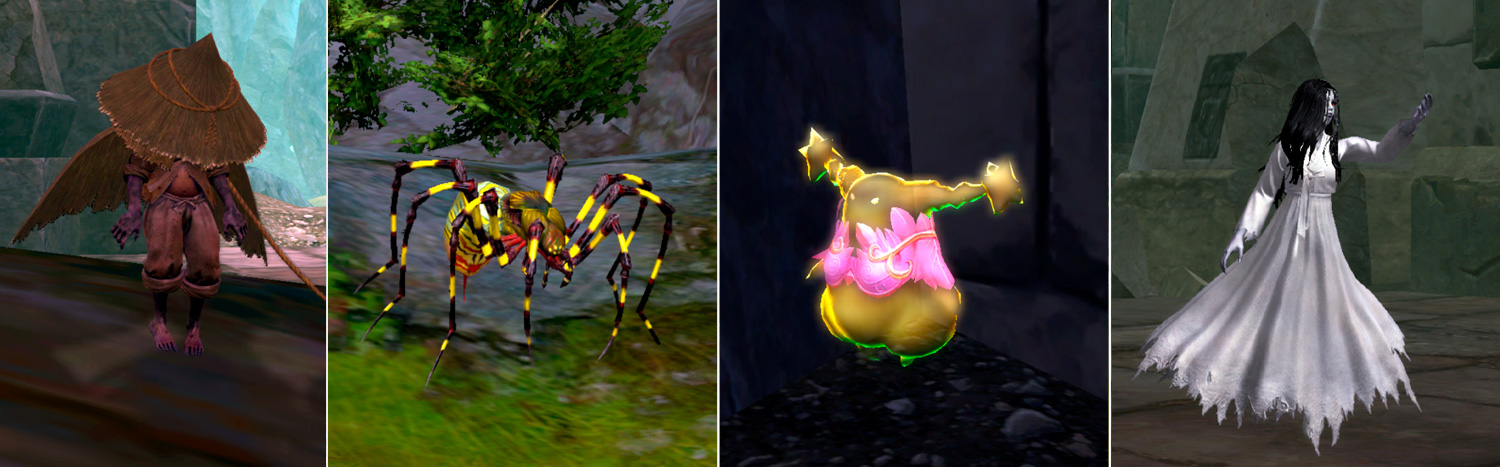
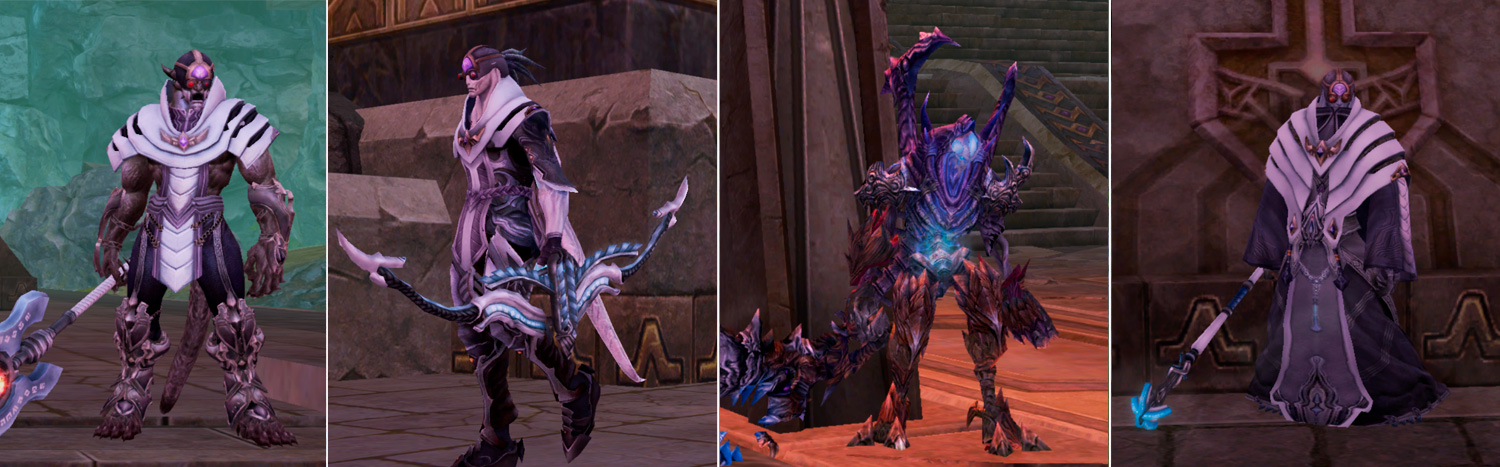
The labyrinth is filled with fierce Drakan warriors, untamed Gurreks, incorporeal spirits, elementals, and other creatures that can provide valuable loot. There is no truce here: almost every step beyond the starting area leads into open PvP territory.
Entering the Location
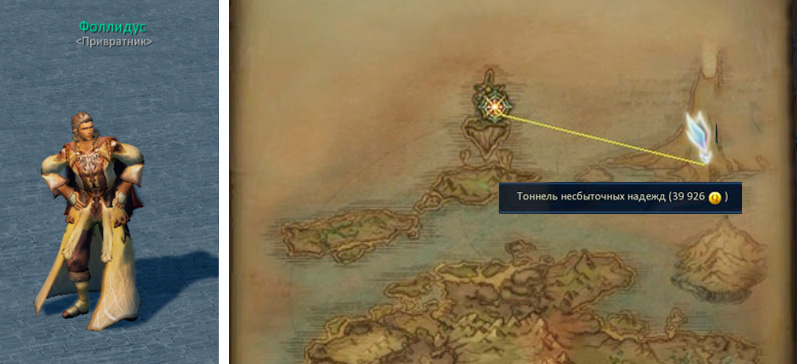
Access to the location is available in each race's capital — Sanctum and Pandemonium. To enter the Tunnel of Unfulfilled Hopes, use the corresponding gatekeeper.
- when entering the location, your group or alliance is disbanded;
- alliances cannot be formed inside the location — the maximum available party size is a regular group.
- Elyos: “Order from Perento”;
- Asmodians: “Order from Nerita”.
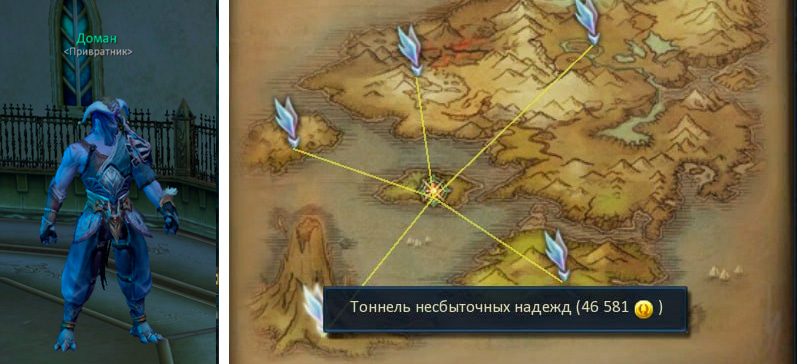
Spawn Points and Starting Area
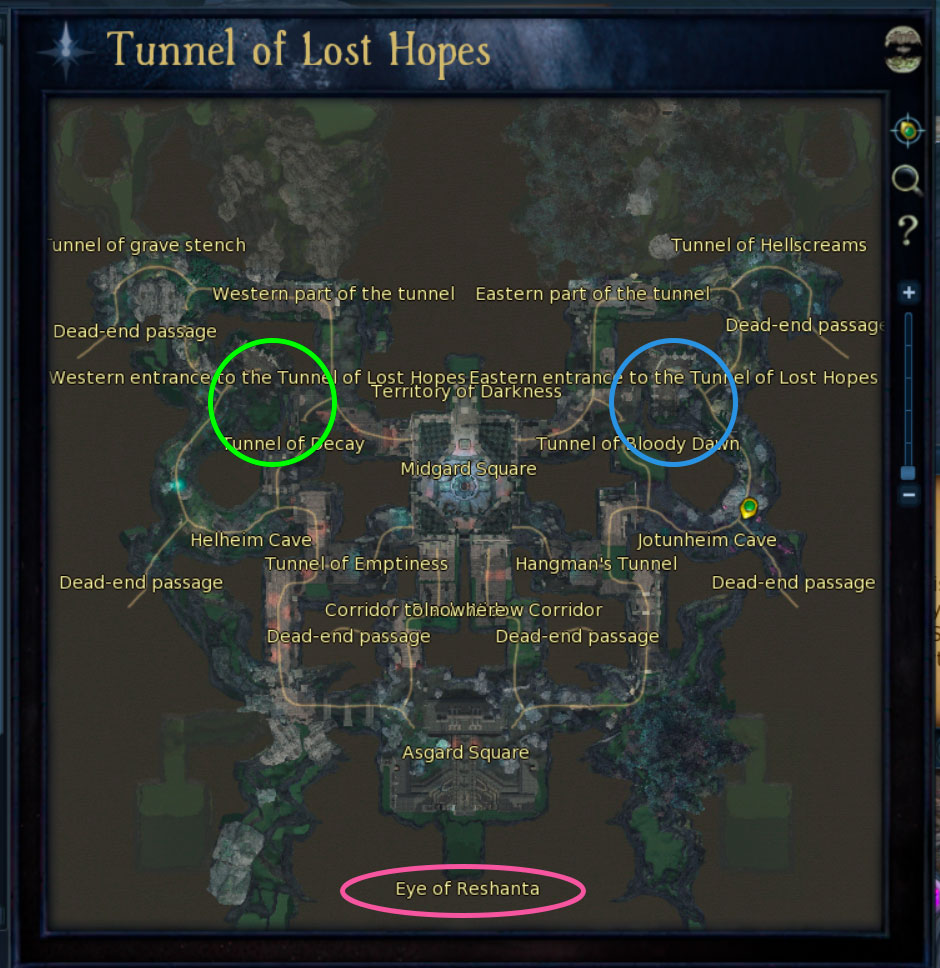
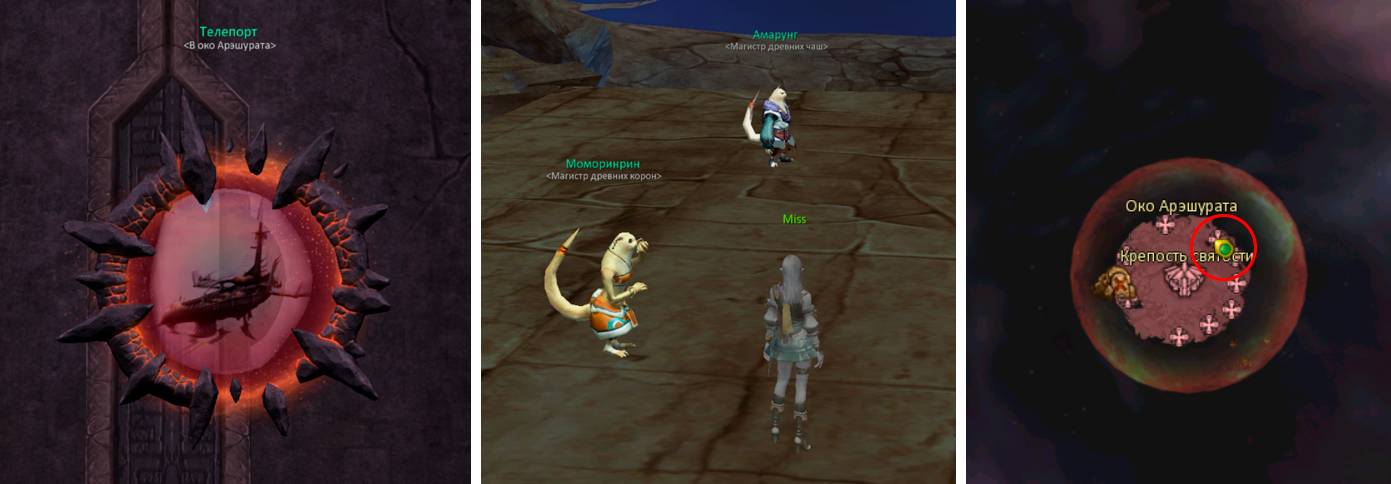
Upon entering the location, players appear at their race's spawn point. A nearby portal allows you to return to your capital. A similar portal is located on the opposite side for the other race.
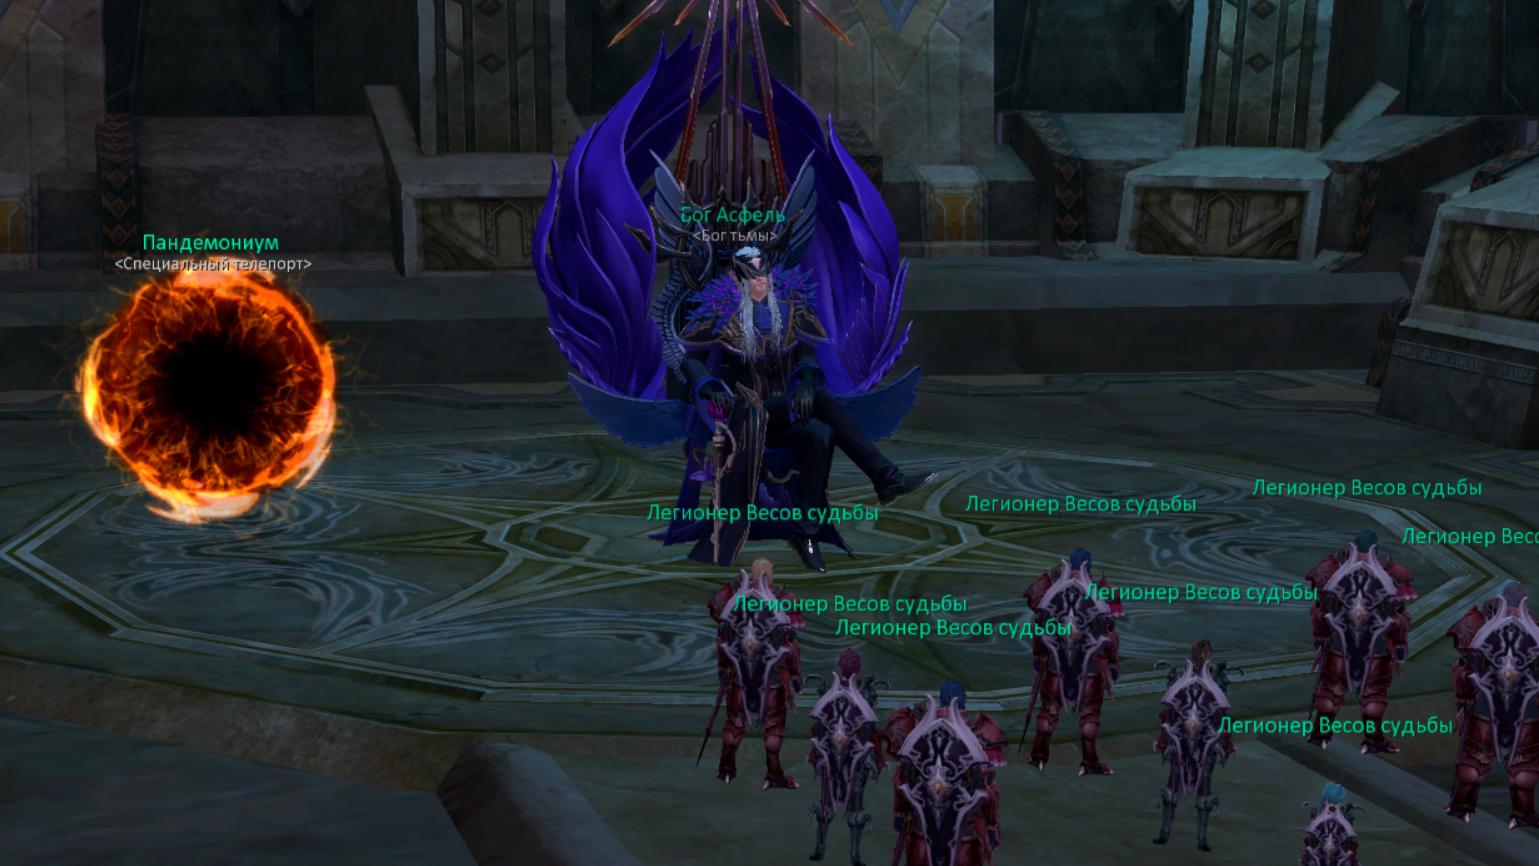
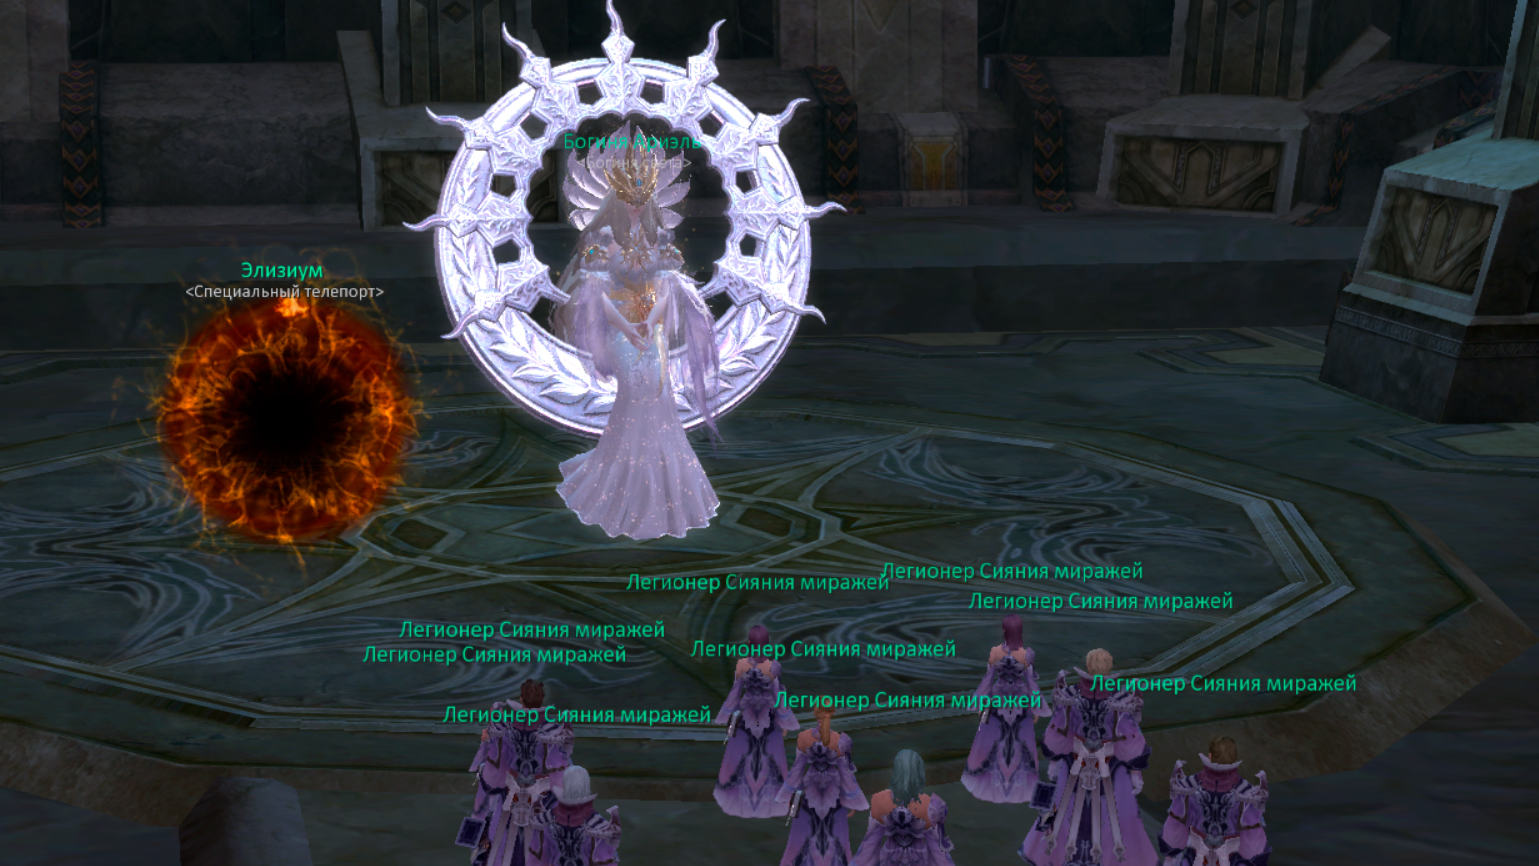
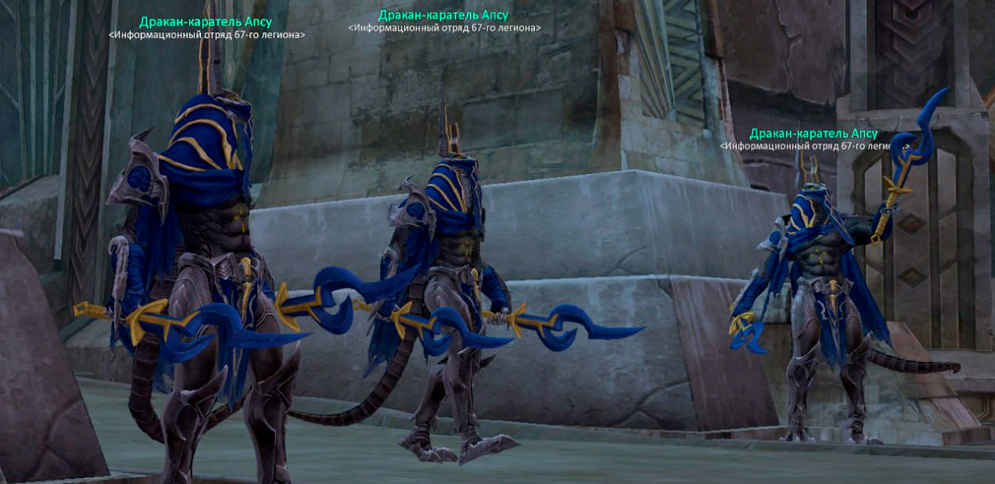
Instead of regular guards, the area is protected by Apsu, who are friendly to their own faction and aggressive toward enemies. This makes the starting area relatively safe, but once you leave it, you no longer have additional protection.
Map
The Tunnel of Unfulfilled Hopes is neutral territory accessible to both races. PvP is active throughout the location. Once you leave the starting area, encounters with the opposing faction cannot be avoided, as there are no safe zones inside the tunnel.
Monsters and Drops
Various creatures inhabit the tunnel, including Apsu, Gurreks, spirits, elementals, spiders, and others. All monsters are level 50. Some of them are positioned in groups and may pose an additional threat.
Monster drops are divided into four groups. Each category of loot can be obtained only from specific monsters.
- Stigma Shards, Blue Balaur Scales, and world drops, including recipes and Stigmas.
- Major Elemental Stones and world drops without recipes or Stigmas.
- Stigma Shards, Blue Balaur Scales, and Balaur materials.
- Balaur materials and world drops without recipes or Stigmas.